
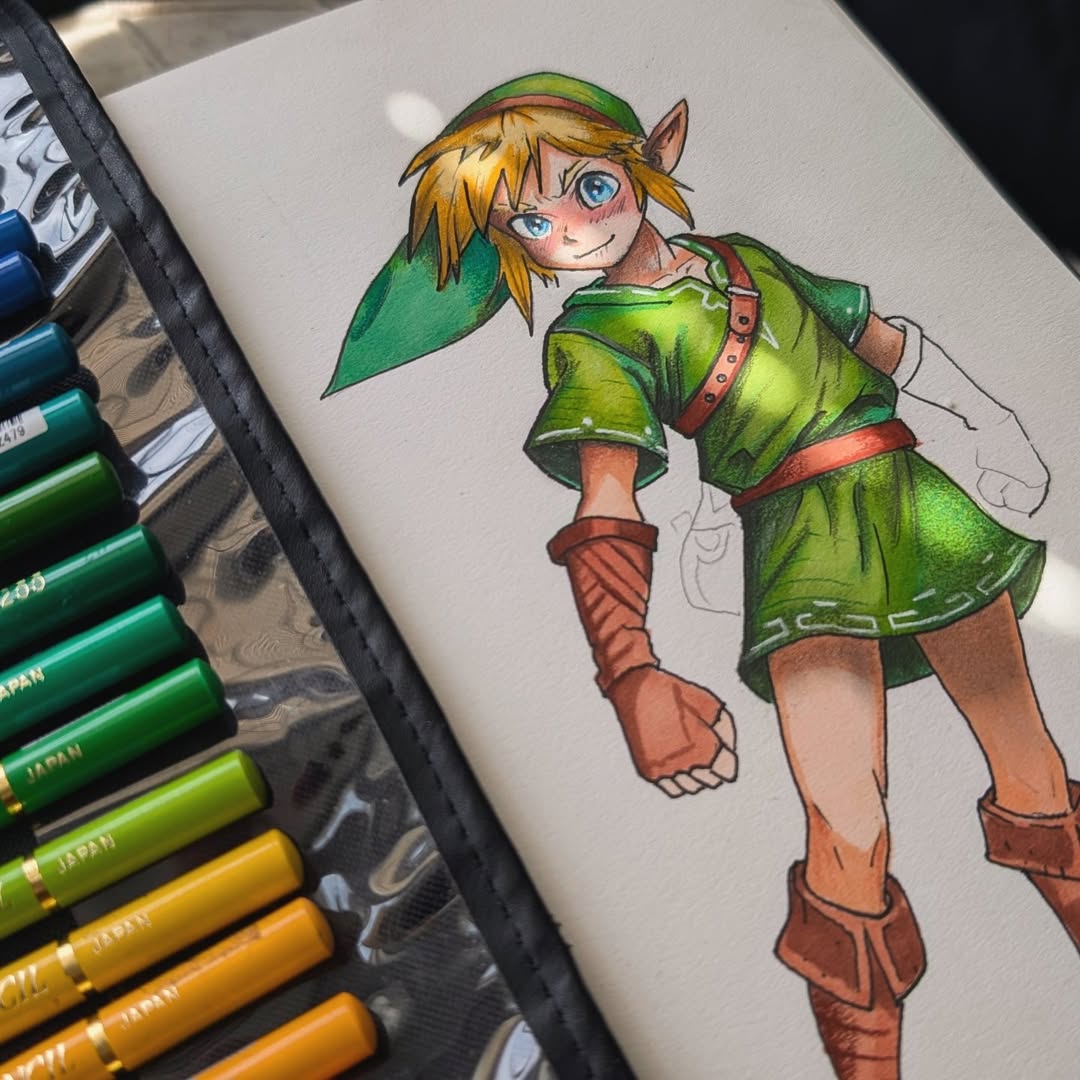
Every creative project begins somewhere. Sometimes it's a color combination you notice while walking. A photograph that catches your attention. A piece of fabric, an interesting typeface, a building, or a detail from nature.
Individually, these things might not mean very much. But when you bring them together, they can reveal a direction you hadn't considered before.
That's the idea behind a mood board.
Mood boards are commonly associated with fashion, interior design, photography, branding, and visual arts. But you don't need a professional studio or a large collection of materials to create one.
In fact, a notebook can be one of the most versatile places to build a mood board.
It gives you space to experiment with images, colors, words, textures, drawings, and handwritten notes while keeping your inspiration together in one place. Whether you're developing a creative project, exploring your personal style, or simply collecting things that inspire you, here's how to create a mood board in a sketchbook.
What Is a Mood Board?
A mood board is a visual collection of images, colors, materials, words, and references that communicate a particular feeling, concept, or creative direction.
Instead of explaining an idea through a long description, a mood board helps you show what that idea might look and feel like.
For example, imagine you're developing a photography concept inspired by coastal landscapes.
Your mood board might include muted blues, sandy neutrals, ocean photographs, soft lighting references, handwritten keywords, and sketches of possible compositions.
Together, those elements create a recognizable atmosphere.
What Can You Include in a Mood Board?
| Element | Purpose |
|---|---|
| Photographs | Establish atmosphere, style, and inspiration |
| Color swatches | Define the visual palette |
| Textures | Explore materials and surfaces |
| Typography | Communicate tone and character |
| Sketches | Develop original ideas |
| Keywords | Describe feelings and concepts |
| Fabric or paper samples | Add a tactile dimension |
| Handwritten notes | Explain connections and creative choices |
A mood board doesn't have to contain every element. The goal is to bring together references that help express a direction.
Why Create a Mood Board in a Sketchbook?
A mood board doesn't need to be a large poster or presentation. Creating one in a sketchbook offers several practical advantages.
First, it keeps your ideas together. Instead of collecting loose images and scraps across your desk, you have one place to return to as the project develops.
Second, it encourages experimentation. You can sketch over references, test different colors, write observations in the margins, and create several versions before deciding on a direction.
Third, it gives your creative process a record.
A finished mood board shows the final direction, but a sketchbook also preserves the earlier combinations and ideas you considered along the way.
And finally, it makes inspiration portable. Your creative references can travel with you rather than remaining in a fixed workspace.

Step 1: Decide What Your Mood Board Is For
Before collecting images and colors, establish the purpose of your mood board.
Are you exploring a particular aesthetic? Developing a brand identity? Planning a photoshoot? Designing a product? Or simply collecting visual inspiration for future projects?
A clear purpose makes it easier to choose what belongs on the page.
Mood Board Ideas by Project
| Project | Possible Mood Board Content |
|---|---|
| Branding | Colors, typography, packaging, visual references |
| Interior design | Materials, furniture, lighting, room colors |
| Fashion | Fabrics, silhouettes, accessories, seasonal palettes |
| Photography | Lighting, locations, compositions, poses |
| Product design | Shapes, materials, textures, finishes |
| Travel inspiration | Destinations, architecture, landscapes, colors |
| Personal aesthetic | Outfits, interiors, imagery, favorite details |
| Creative writing | Settings, characters, atmosphere, objects |
You don't need an extremely detailed plan. A simple concept such as quiet mornings, Mediterranean summer, or modern botanical design can provide enough direction to begin.
Step 2: Collect Visual References
Once you have a concept, begin gathering things that communicate its mood. Look beyond the most obvious references.
If your theme is inspired by nature, you might collect more than photographs of plants. Consider the texture of bark, patterns in leaves, colors of stone, shapes of insects, or the way sunlight falls across a surface.
Useful references can come from magazines, packaging, postcards, photographs, material samples, illustrations, or your own sketches.
Pay attention to the things you repeatedly notice. You may begin to discover patterns in your preferences.
For example, perhaps you're consistently drawn to warm colors, organic forms, and textured materials. Those shared characteristics can become the foundation of your mood board.
Tip: Don't glue everything down immediately. Arrange your references loosely on the page first so you can experiment with different combinations.
Step 3: Build Your Color Palette
Color is one of the strongest elements of a mood board. It can establish the atmosphere before someone looks closely at any of the individual images. Try choosing three to five main colors that represent your concept. You can create small swatches using colored pencils, markers, brush pens, or other materials appropriate for your paper.
Color Palette Inspiration
| Mood | Suggested Colors |
|---|---|
| Calm and minimal | Cream, stone, gray, muted blue |
| Botanical | Sage, forest green, brown, warm white |
| Warm and nostalgic | Terracotta, mustard, burgundy, beige |
| Coastal | Deep blue, pale aqua, sand, white |
| Bold and modern | Cobalt blue, orange, black, cream |
| Earthy and natural | Olive, rust, clay, charcoal |
Try placing the colors next to your references.
Do they create the atmosphere you're aiming for? Does one color dominate too much? Would a softer accent make the palette more balanced?
A notebook lets you test these choices before committing to them.
Step 4: Experiment With Texture
A mood board isn't only about color and imagery.
Texture can be just as expressive. A smooth surface communicates something different from rough handmade paper. Linen has a different character from polished metal. Matte finishes feel different from glossy ones.
If you're creating a physical mood board, you can incorporate small samples of paper, fabric, packaging, or other lightweight materials.
Consider how each texture contributes to the overall concept.
For a natural, understated project, you might choose recycled-looking paper, linen textures, or soft matte references.
For a more contemporary direction, you might experiment with reflective surfaces, sharp lines, and smooth finishes.
When attaching materials, avoid adding so many thick layers that your notebook becomes difficult to close.
If you prefer a cleaner layout, you can also represent textures through photographs, sketches, or descriptive notes.
Step 5: Add Words That Describe the Mood
Visual references are important, but sometimes a few words help clarify what you're trying to achieve. Think about the emotions or characteristics you want your mood board to communicate.
For example:
Concept: A Quiet Creative Studio
Warm. Thoughtful. Natural. Textured. Focused. Understated.
These keywords help connect the images and materials to a more specific direction.
You can write them directly onto the page, place them in the margins, or use one or two as headings.
Try avoiding too many descriptive words.
Choose the ones that genuinely define the mood.
Step 6: Arrange Your Mood Board
Now it's time to bring everything together. There is no single correct mood board layout.
You can use a structured grid, an organic collage, a two-page spread, or a layout built around one central image.
The arrangement should reflect the concept you're exploring.
Mood Board Layout Ideas
| Layout | Best For |
|---|---|
| Grid layout | Clean, organized references |
| Collage layout | Expressive and layered inspiration |
| Central image | One dominant concept with supporting details |
| Color-led layout | Projects where palette is the main focus |
| Two-page spread | Larger creative concepts |
| Minimalist layout | A few carefully selected references |
Before attaching everything, consider visual hierarchy.
Which reference should attract attention first?
Which images support the main idea?
Is there enough space between elements?
You don't have to fill every corner of the page. A little empty space can make the composition easier to understand.
Step 7: Add Your Own Sketches
One of the advantages of using a sketchbook is the ability to combine found inspiration with your own ideas. Instead of relying entirely on collected references, try drawing something inspired by what you see.
It might be a simplified product silhouette, a packaging concept, a pattern, a composition, or a small illustration.
Your sketches don't need to be polished. They simply need to help you explore the direction.
You can also annotate images with arrows and notes explaining what interests you.
For example, you might write:
Interesting use of negative space.
Try this color combination with a warmer background.
Could work as a cover texture.
These observations turn your mood board into a working creative resource rather than just a collection of attractive images.

Step 8: Refine Your Creative Direction
Once your mood board is assembled, look at it as a whole.
Does it communicate one recognizable mood?
Are there references that feel out of place?
Do the colors work together?
Is there a clear direction, or are you exploring several competing ideas?
If the board feels inconsistent, you don't necessarily need to start again.
Try removing one or two references, adjusting the arrangement, or making your palette more focused.
You can also create a second version on the next page. Sometimes comparing two different directions is more useful than trying to combine them into one.
10 Mood Board Ideas to Try in Your Sketchbook
If you're not working on a specific project, mood boards can still be a fun way to explore personal interests and creativity.
| Mood Board Theme | What to Include |
|---|---|
| Mediterranean Summer | Sunlit architecture, terracotta, olive trees, coastal blues |
| Modern Minimalism | Neutral tones, simple shapes, clean typography |
| Forest Inspiration | Moss, bark, leaves, deep greens, natural textures |
| Vintage Bookshop | Book covers, warm lighting, paper textures, handwritten notes |
| Creative Workspace | Desk objects, materials, typography, colors |
| Botanical Design | Plant illustrations, organic forms, muted palettes |
| City Architecture | Buildings, geometric patterns, windows, street details |
| Autumn Color Study | Rust, gold, brown, seasonal textures |
| Travel Dream Board | Destinations, maps, landscapes, cultural references |
| Personal Style | Clothing, interiors, art, colors, favorite objects |
You can create one theme per spread or dedicate several pages to developing a single idea. Over time, these collections may reveal recurring styles and interests.
How to Create a Mood Board Without Magazines
You don't need a stack of magazines or printed photographs to begin.
A mood board can be built almost entirely through drawing and writing.
Instead of cutting out color samples, create your own swatches.
Instead of attaching photographs, sketch simplified versions of the images that inspire you.
Instead of using printed typography, experiment with different lettering styles.
You can also create a reference list describing images or materials you'd like to explore later.
For example, a page inspired by architecture could include sketches of arches, geometric patterns, facade details, and handwritten notes about stone, light, and proportion.
This approach works particularly well for people who enjoy drawing and visual research.
How to Use Mood Boards for Professional Creative Projects
Mood boards are also useful working tools.
Designers, photographers, marketers, creative directors, and product developers can use them to communicate ideas that may be difficult to explain through words alone.
For example, a brand redesign may begin with several possible visual directions.
One mood board might emphasize premium simplicity, with restrained typography and neutral colors.
Another might focus on expressive storytelling, stronger contrasts, and editorial photography.
Comparing the two can help clarify which direction better suits the project.
Professional Mood Board Applications
| Field | How a Mood Board Helps |
|---|---|
| Graphic design | Explore color, typography, composition |
| Branding | Define visual personality |
| Photography | Plan lighting, styling, locations |
| Product development | Research materials, shapes, finishes |
| Marketing | Establish campaign mood and imagery |
| Packaging | Compare textures, patterns, visual concepts |
| Interior design | Coordinate colors, furniture, materials |
A notebook mood board is particularly useful during the early stages, when ideas are still changing.
You can test combinations and annotate decisions without needing a finished presentation.

Choosing the Right Notebook for Mood Boards
The kind of mood board you want to create will influence your notebook choice. If you mainly collect written references, small images, and occasional sketches, an everyday notebook may provide enough flexibility. If you plan to use markers, brush pens, material samples, color swatches, or more elaborate compositions, stronger paper and larger pages become more useful.
Which Dingbats* Notebook Works Best?
| Collection | Best Use |
|---|---|
| Pro Collection | Sketchbook mood boards, creative research, color swatches, visual development |
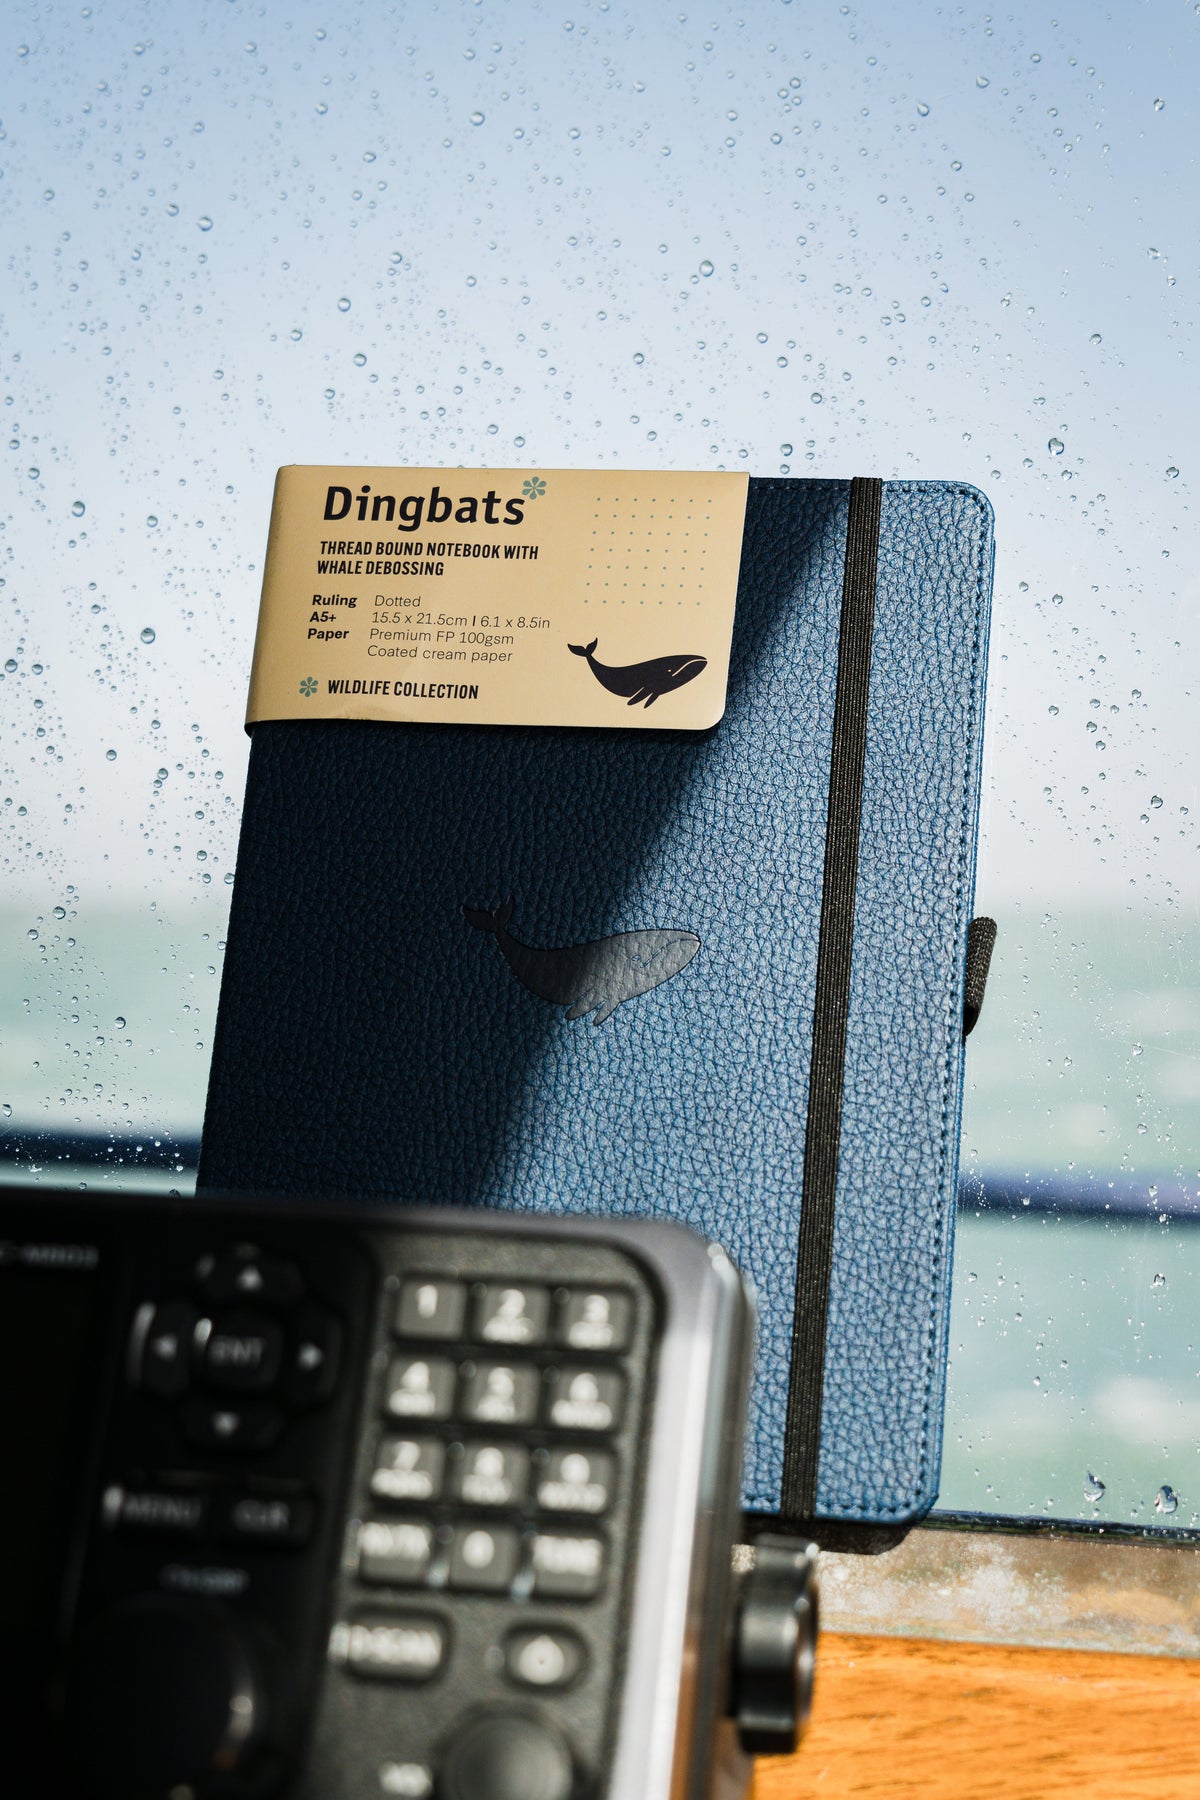
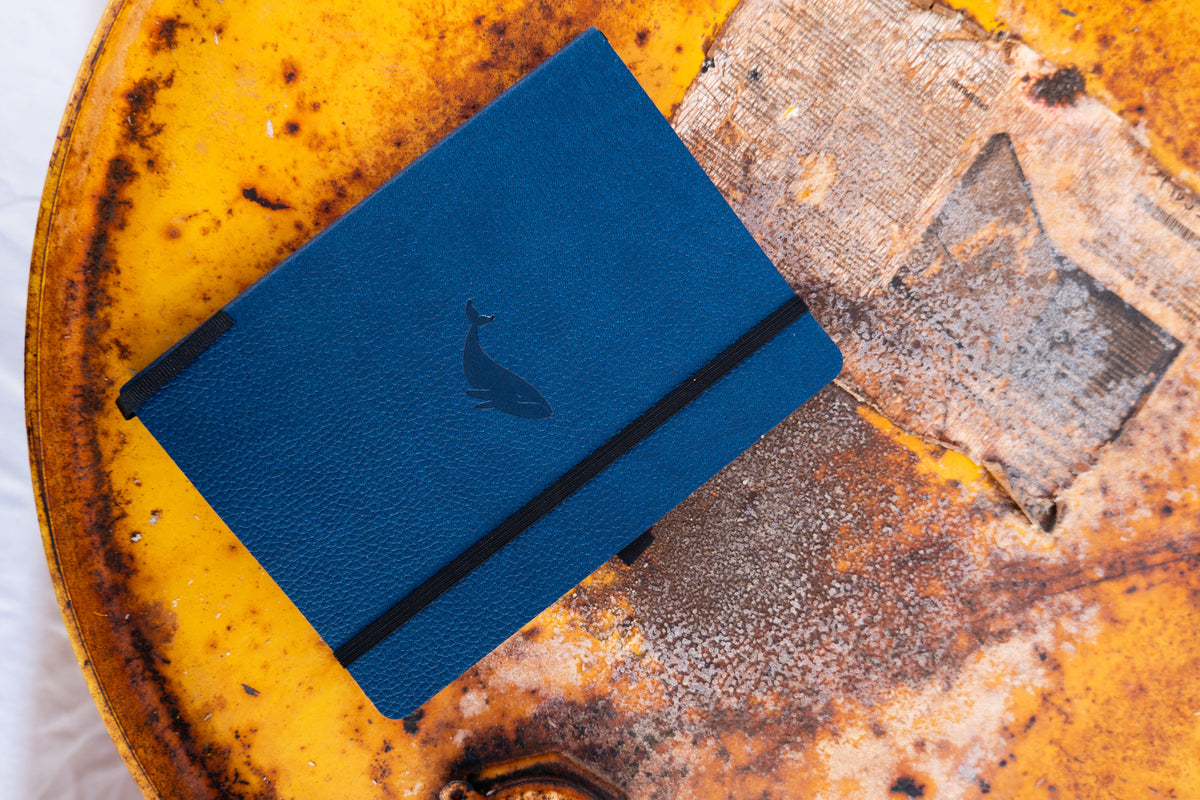
| Wildlife Collection | Small inspiration collections, travel mood boards, notes and reference lists |
| Earth Collection | Structured design research, inspiration indexes, categorized references |
The lay-flat design also makes it comfortable to work across a two-page spread.
Common Mood Board Mistakes to Avoid
Including Too Many References
Collecting inspiration is enjoyable, but using every image you find can make the final mood board feel confusing.
Choose references that contribute something specific to the concept.
Forgetting the Purpose
A mood board can look beautiful without communicating a clear direction.
Return to your original concept and ask whether the references actually support it.
Relying Only on Images
Colors, textures, words, sketches, and notes can provide valuable context.
A few annotations may make your mood board easier to understand later.
Making Everything Too Perfect
Mood boards are tools for exploration.
You don't need perfectly aligned images or flawless sketches, especially during the early stages of a project.
Using Materials That Don't Suit Your Paper
Some paints, inks, adhesives, or thick collage materials may behave differently depending on the paper.
Test unfamiliar materials on a spare page before using them in your final spread.
A Simple Sketchbook Mood Board Template
If you're creating your first mood board, this structure can help you begin.
| Section | What to Add |
|---|---|
| Theme or concept | A short title |
| Main inspiration | One or two key images or sketches |
| Color palette | Three to five colors |
| Textures | Material references or descriptions |
| Keywords | Three to six descriptive words |
| Supporting references | Smaller images, patterns, objects |
| Notes | What you like and why |
| Next steps | Ideas to test or develop |
You don't need to follow this structure exactly. Treat it as a starting point and adapt it as your ideas develop.
Frequently Asked Questions
What is a mood board in a sketchbook?
A sketchbook mood board is a visual collection of references, colors, textures, sketches, and words arranged on notebook pages to explore a particular theme, aesthetic, or creative direction.
How do I start a mood board?
Begin by choosing a theme or concept. Collect a few relevant images, define a color palette, experiment with layouts, and add keywords or sketches that help express the mood.
What materials do I need for a physical mood board?
A sketchbook, pen, pencils, and a few visual references are enough. You can also use markers, photographs, paper scraps, fabric samples, glue tape, and other lightweight materials.
Can I create a mood board without being good at drawing?
Yes. Mood boards rely on collecting and arranging references, not technical drawing ability. You can use images, colors, words, and simple sketches.
What is the difference between a mood board and a vision board?
A mood board usually explores the visual identity or atmosphere of an idea or creative project. A vision board typically represents personal goals, aspirations, or desired experiences.
What paper is best for sketchbook mood boards?
The best paper depends on your materials. For light sketching and writing, everyday notebook paper may be sufficient. For markers, brush pens, color studies, and mixed media work, heavier paper such as the 160gsm paper in the Dingbats* Pro Collection offers more flexibility.
Can I use a mood board for business projects?
Absolutely. Mood boards are useful for branding, marketing campaigns, product development, packaging, photography, interior design, and other creative business projects.

Leave a comment
All comments are moderated before being published.
This site is protected by hCaptcha and the hCaptcha Privacy Policy and Terms of Service apply.